
Web Chat in Conversations
Web Chat lets you communicate with families visiting your enrollment site in real time through a chat widget. Messages sent from the widget appear directly in your Conversations inbox, where you can manage them alongside text messages, emails, and other communication channels.
This article explains how Web Chat works, how to configure the chat widget, and how to manage Web Chat conversations.
How Web Chat Works
Web Chat enables families visiting your enrollment site to start a conversation instantly. When a visitor sends a message through the chat widget, the message is routed directly to your Conversations inbox.
Inside Conversations, Web Chat messages appear in real time. You can open the thread, respond immediately, assign the conversation to a team member, or manage it just like any other channel. Web Chat centralizes all website conversations so you don't need to switch between platforms.
Setting Up Web Chat
To enable Web Chat, create and configure a chat widget.
- Navigate to Sites → Chat Widget
- Click + New to create a widget
- When selecting the chat type, choose Live chat
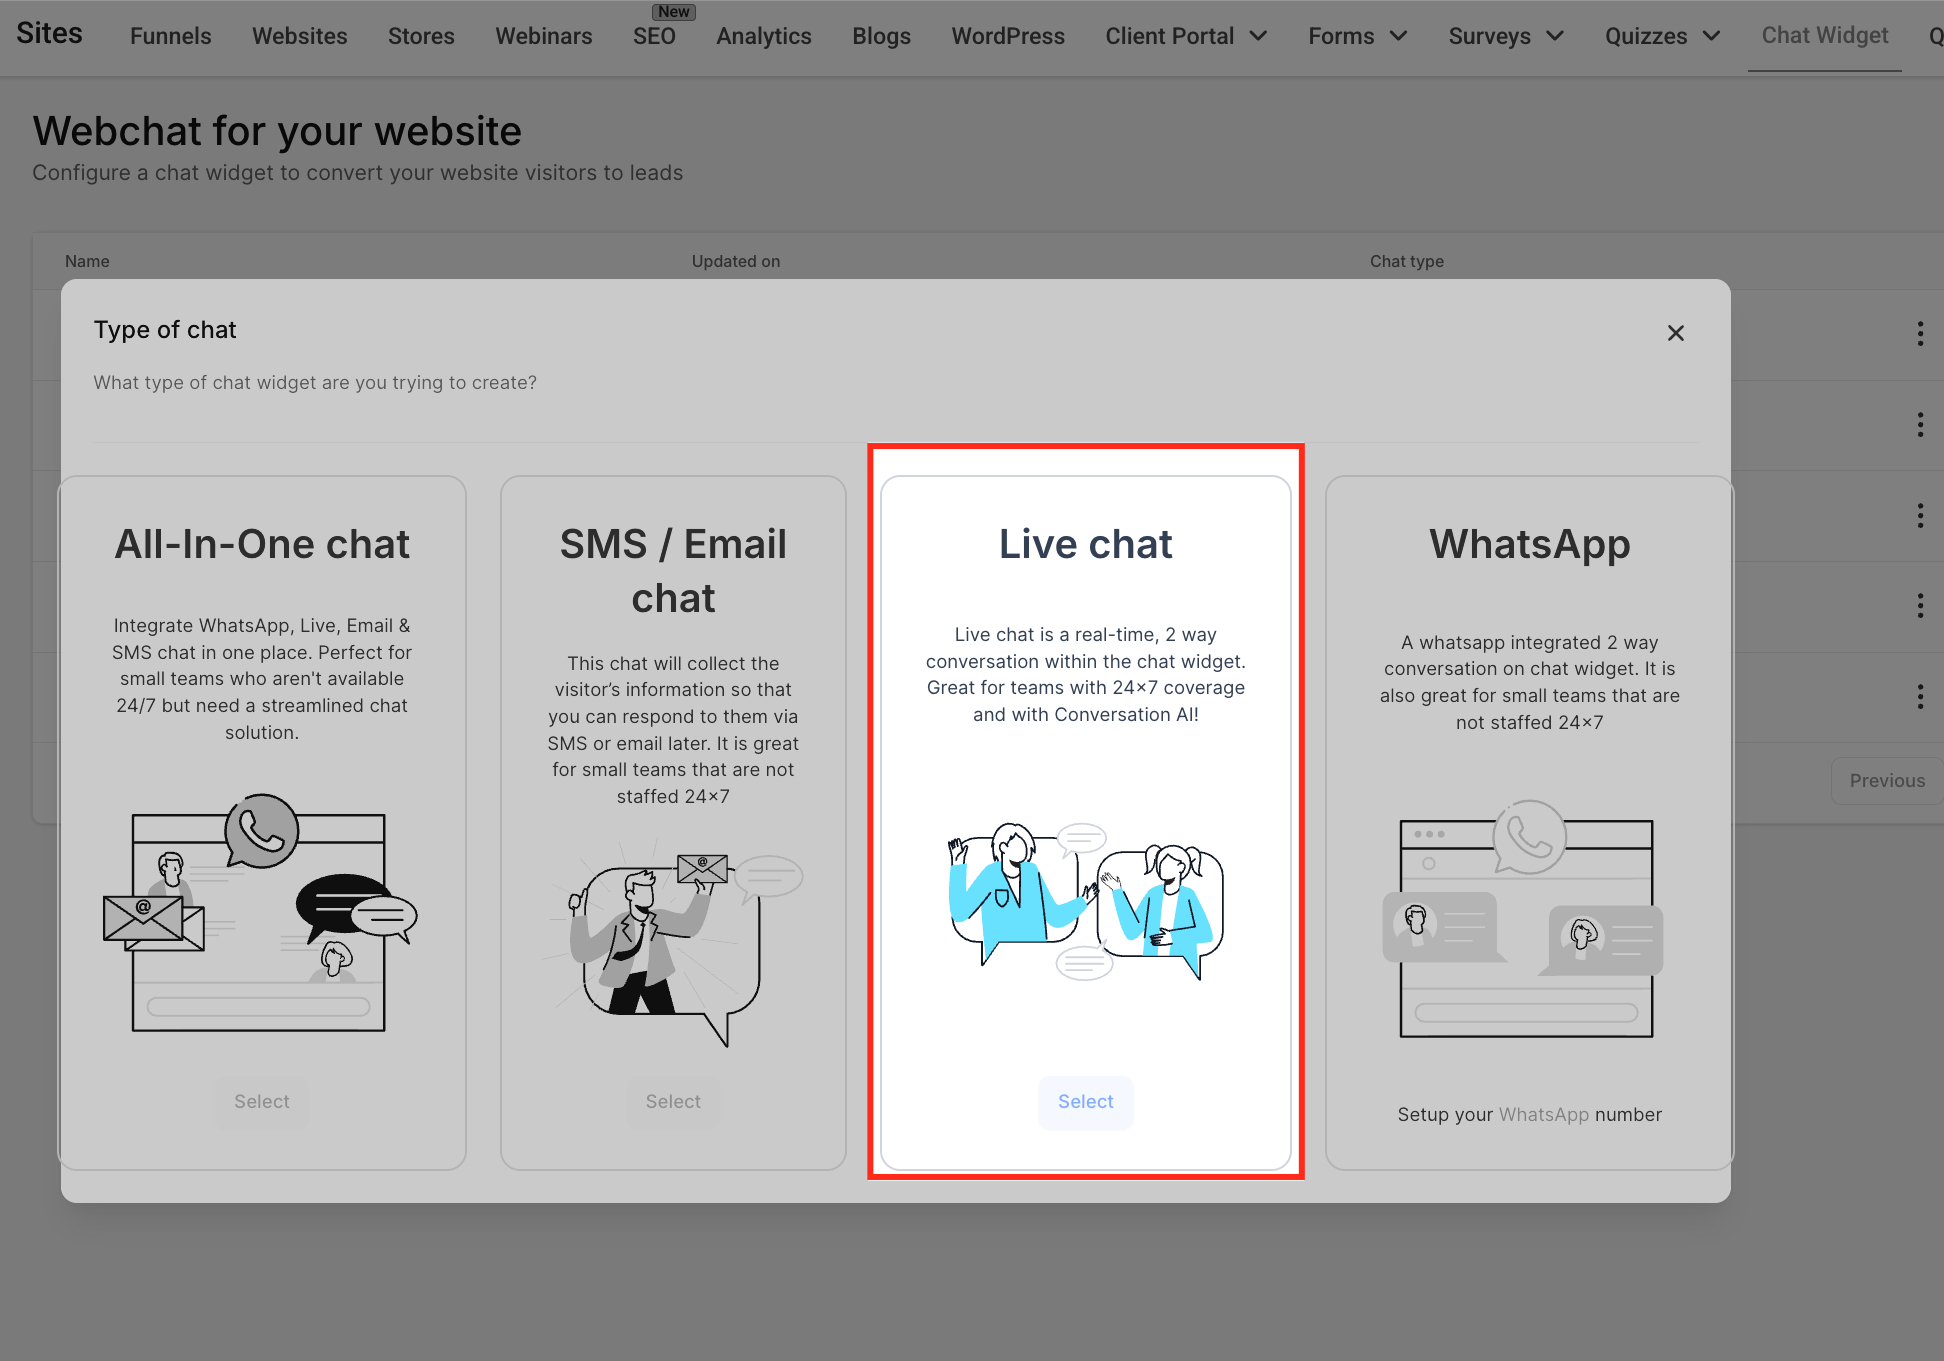
After selecting the chat type, customize your widget settings:
- Intro message
- Agent avatar and branding
- Inactivity fallback message
- Chat timeout message
Once configured, save the widget and install it on your enrollment site by copying the provided script into your website's footer or body section. After installation, families can begin sending Web Chat messages from your site.
Managing Web Chat Conversations
When a visitor sends a message, it appears instantly inside Conversations. Web Chat conversations are identified by the chat icon in your inbox.
You can open any thread to respond in real time. Conversations can be assigned manually or automatically to team members using automations or ownership rules.
Filtering Web Chat Messages
To focus only on Web Chat messages, use the filter option inside Conversations:
- Click the filter icon in Conversations
- Under Last Message Channel, select Live Chat
- Click Apply
This displays only Web Chat conversations originating from your enrollment site.
Ending Conversations
When a conversation is complete, use the End Chat option. Chats can also close automatically based on inactivity settings configured in your widget.
Frequently Asked Questions
How do I ensure Web Chat messages appear in Conversations?
Install and enable the chat widget and select Live chat under Sites → Chat Widget. Messages will automatically route to Conversations.
Why does the setup screen say "Live chat" if this is Web Chat?
The widget setup currently uses the label "Live chat," but it configures the Web Chat channel that routes website conversations into Conversations.
What happens if no one responds to a Web Chat message?
If no team member responds within the configured inactivity time, the fallback message prompts the visitor to leave their contact details so you can follow up later.
Can Web Chat conversations be assigned to specific team members?
Yes. Conversations can be assigned manually or automatically using automations and assignment rules.
Can I filter only Web Chat conversations?
Yes. Use the filter option in Conversations and select Live Chat under the message channel filter.
Comments
Please sign in to leave a comment.